Cycling event photography has gotten complicated with all the new cameras and settings flying around. As someone who spent three seasons shooting local criteriums before landing my first Tour stage gig, I learned everything there is to know about capturing riders at speed. Today, I will share it all with you.
The Gear Question Everyone Asks First
Here’s the thing nobody tells you: camera bodies matter way less than lenses for cycling. I shot my first two seasons on an entry-level Canon that cost me $600, and those images got published just fine. The difference was my 70-200mm f/2.8 lens, which I bought used and treated like gold.
That 70-200 handles maybe 80% of cycling photography situations. You stand at a safe distance from the road, zoom in, and catch tight action shots. The f/2.8 aperture lets you shoot faster and blur the backgrounds into that creamy look that separates pro work from phone snapshots.
I’m apparently one of those people who reaches for prime lenses instead, and my 300mm f/2.8 works for me while zooms never quite click. Personal preference, honestly. Try renting different options before you commit.
Monopods Save Your Arms
Probably should have led with this section, honestly. Holding a long telephoto lens for six hours during a road stage will destroy your shoulders. A monopod gives stability without the footprint of a tripod, and you can still move fast when the race dynamics change.
Get a rain cover too. I learned this at my third race when a thunderstorm rolled in during the finale of a July criterium. Soaked camera, two weeks at the repair shop, missed the next three events.
Settings That Actually Work
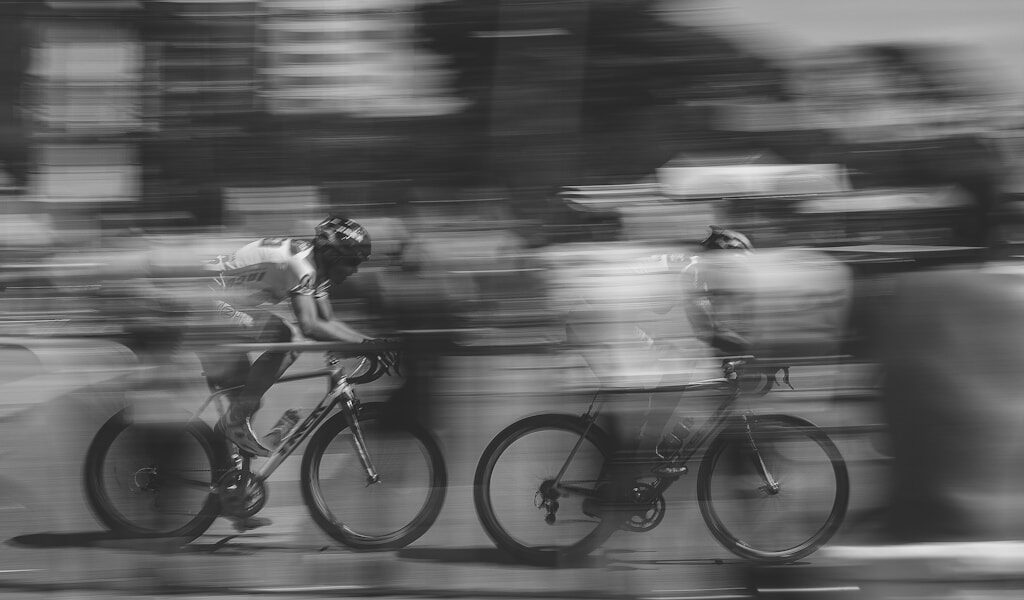
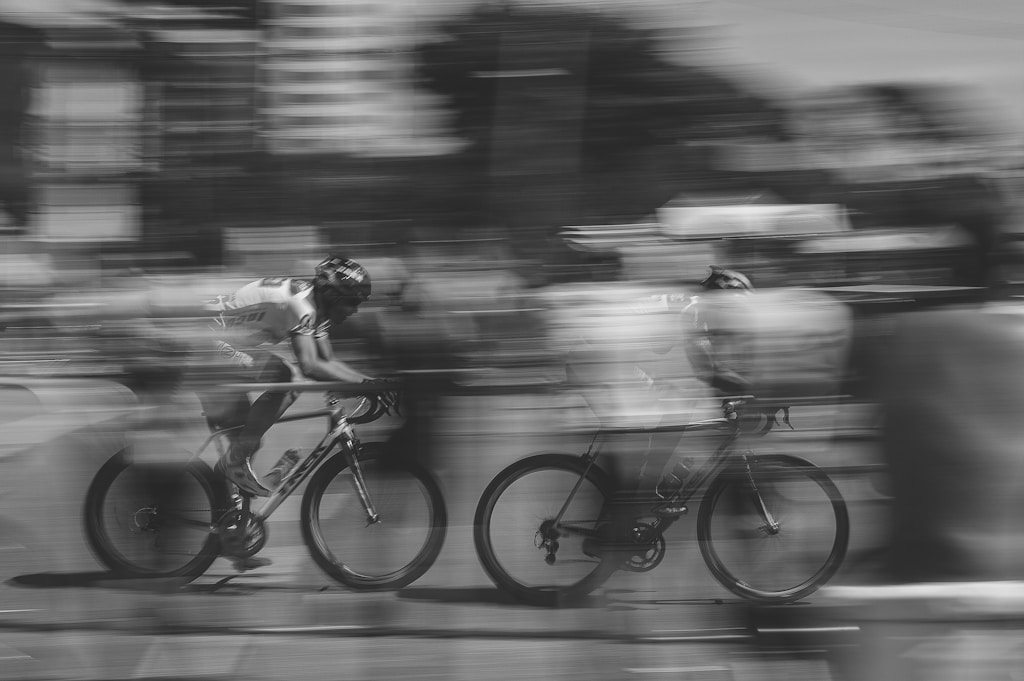
Start at 1/1000th second in shutter priority mode. That freezes most action cold. When you want motion blur to show speed, drop to 1/125th and pan with the riders. Takes practice, but the results are worth the learning curve.
For autofocus, use continuous mode with a single point or small zone. Big focus areas hunt around and lock onto spectators or cars instead of your rider. I keep my camera firing in bursts of 8-10 frames per second because the perfect moment lives in one frame out of that sequence.
Position Is Everything
That’s what makes position selection endearing to us cycling photographers – it separates memorable shots from forgettable ones. You can predict exactly where dramatic moments happen on a course.
Corner Dynamics
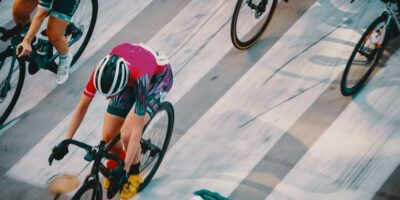
Outside corners give you the classic angle. Stand on the exit side where riders accelerate out of the turn, and you see faces, sponsor logos, the whole effort of cornering at 40 kph. Inside corners show crazy lean angles but usually hide faces behind helmets.
Technical sections – hairpins, cobbles, off-camber stuff – produce the best images because they show actual skill. I always walk a course beforehand to find these spots.
Climbs and Sprints
Mountain finishes are suffering photography. Position yourself above the climbing riders, shooting down or across as they approach. The grimacing faces, dropped heads, visible strain – that conveys racing intensity better than anything.
For sprints, pick your spot 10-15 minutes early and stay planted. The throw across the finish line makes the shot, so position slightly ahead of the line, not directly on it. Directly on the line, you can’t tell who won.
Safety First, Always
Never stand in the trajectory of a corner exit. Crashes throw riders toward the outside of turns. I’ve seen photographers get hit because they wanted a slightly better angle. Keep an escape route in mind, use your telephoto reach, and stay farther back than feels necessary.
Reading the Race for Peak Moments
Attacks announce themselves before they happen. Riders rise from saddles, shift weight forward, glance at competitors. Start shooting before the acceleration actually begins. Chase sequences are great too – the contrast between struggling chasers and a breakaway tells the whole story.
Post-finish emotion often beats racing action. Victory celebrations, consolation embraces, the relief of completed effort. Stay positioned after finishes because these might become your most requested shots.
Weather creates mood. Rain-soaked races produce dramatically different images. Embrace difficult conditions as opportunities. My best-selling image from last year was a solo breakaway rider emerging from fog in a forest sector. Couldn’t have planned it.
Workflow After the Shoot
Cycling photography generates thousands of images. I import everything, then do a quick pass deleting obvious failures – out of focus, backs of heads, blown highlights. That first pass usually cuts 60% of captures.
Second pass finds portfolio candidates. Third pass grabs working images for editorial or team requests. I develop presets for common conditions (overcast, harsh sun, golden hour) so batch processing handles the bulk quickly.
For press work, speed beats perfection. Getting acceptable images delivered within an hour of the finish wins over perfect images the next day. Build your workflow around rapid turnaround when needed.
Building Relationships and Getting Published
Cycling publications constantly need images. Start with regional outlets that accept contributor work, then build toward larger publications. Share quality images freely with teams and amateur racers – the investment returns as paid commissions later.
Race organizers control your access. Approach them before events, offer to share images in exchange for positioning flexibility, and follow their rules even when you disagree. Organizers who trust you grant exceptions; organizers who see you as problems restrict access.
Photograph often, even when conditions aren’t ideal. The person shooting every Tuesday night criterium all summer improves faster than someone waiting for major events. Skills develop through repetition. Study other photographers’ work to understand their positioning and timing choices. Seek critique from peers to catch your blind spots.
That’s really the whole game: show up consistently, learn from mistakes, build relationships, and keep shooting.